

Source | Issues and Feature Requests
What is this?
Dengonban (伝言板, "Message Board" in Japanese) is a TRMNL plugin to provide a notice board functionality to the device.
Why?
Having received my TRMNL device, I figured a nice addition would be to create a plugin that will allow me and my wife to leave async messages for each other. Think of this like a announcement or a reminder. And while you can definitely just send webhooks and let TRMNL do the rest with the data, I figured having the ability to manage these messages could also be nice. So I've decided to create my first docker-ized app.
Installation
Local Build
The easiest way to get this to work is as follows: 1. Clone the repository: git clone https://git.sr.ht/~hxii/dengonban 2. cd into the cloned repository 3. Create a token for TRMNL: ./create-token.py -t 4. Create a token for yourself: ./create-token -u <your-name> 5. Build the image: make build 6. Run the image: DASHBOARD_ENABLED=1 make run
Docker Compose
- Clone the repository:
git clone https://git.sr.ht/~hxii/dengonban cdinto the cloned repository- Create a token for TRMNL:
./create-token.py -t - Create a token for yourself:
./create-token -u <your-name> - Edit
docker-compose.ymlto include theDASHBOARD_ENABLEDenvironment variable if you want the dashboard enabled - Run compose:
docker-compose up
Portainer
- Clone the repository:
git clone https://git.sr.ht/~hxii/dengonban - cd` into the cloned repository
- Create a token for TRMNL:
./create-token.py -t - Create a token for yourself:
./create-token -u <your-name> - Create a new container in Portainer
- Set "Image" to
hxii0/dengonban:latest - Map the container's
8000port to whichever port of your host that you want - Create a volume mount for the container's
/app/datadirectory pointing to wherever you cloned the repository - Add the
DASHBOARD_ENABLEDenvironment variable with the value1to enable dashboard - Run it
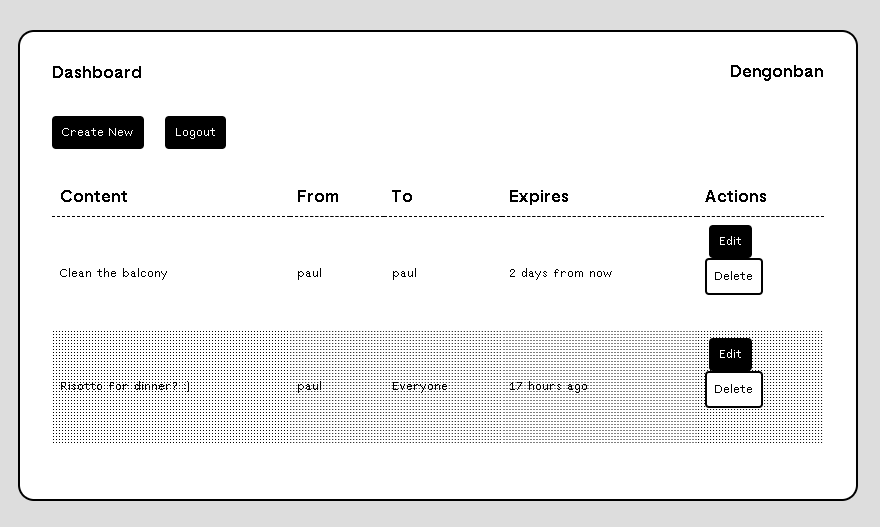
Features
- FastAPI CRUD endpoints for messages
- Simple dashboard
- Different message types (configured in
data/message-types.json) - Message expiration time
- Multiple people